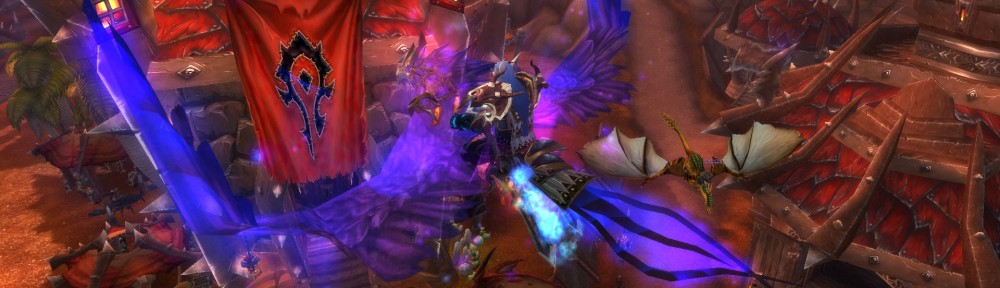
Hello Everyone and welcome to another exciting episode of Learning How to Tank. This time we are looking at Nefarian 10 on Normal mode.
I really like this fight, it is really dependent upon positioning and the room is designed such that it feels bigger than it actually is. You can see our final positioning goal in the diagram, feel free to pause and check it out.
As a tank we always want to be aware of positioning and how it relates to the encounter. Some encounters rely less on positioning than others, but this one is very much dependent upon good positioning. Another piece of this puzzle is understanding the mechanics that define our safe zones. The circular room gives the perception that you have a ton room to work with, but between the lightning discharge, the tail lash, the adds, the proximity buff, and the shear size of the dragons your effective safe areas shrink quite fast.
In the first phase we began thinking a death knight tank would be good for onyxia and the druid tank would be better for Nef. This didn’t pan out for us though, as you can see I got quite a bit of aggro from the adds and we ended up switching tanking assignments. Part of this could just have been related to our frost mage getting comfortable with the adds and me being too aggressive with my abilities. Unfortunately, this was all before patch 4.1 when the threat from the death strike heal was removed. We did do an attempt where I avoided death strike, rune tap, and Horn of Winter, but it was just so hard on the healer that it didn’t feel right. I’m sure it would be much less of a problem now, especially knowing how to position the dragons.
We settled on a north south positioning with Onyxia pulled directly south and positioned next to the southern pillar. The Ony tank has backed up to the edge of the platform to create as much space in the middle for the raid and help open up the middle safe zone. I position myself next to the north east pillar when I pick up nef. I use IBF here because the proximity buff will be active for a few seconds while I move him and my healer is still getting in position. My healer was also splitting his attention to the frost mage kilter so this CD usage gives a bit of breathing room.
One of the really cool things about this encounter is the synergy between mechanics. You see this on other encounters too, but it really plays out here. We have the enrage timer on Onyxia, her electricity bomb bar, which fills at a constant rate, except when an electrocute goes off it increases by 25 immediately. This means in order to push three electrocutes in phase 1 you have to DPS Ony precisely, 17% worked for us. The Ony tank will DPS her down to around 10K so she will die in one or two big hits. Once she is at 10kish the tank will stop DPS on her and wait until the third Electrocute is going off to kill her and start phase 2. If you time it right, you will kill her just as the damage from the electrocute hits the raid and your healers will have plenty of time to get everyone reasonably healed going into the lava.
From a tanks perspective the hardest part of phase 2 is getting onto the pillar and ensuring the first blast nova is interrupted. This is the most critical blast nova because of the synergy between the lava debuff stacks and the blast nova. Since the lava debuff increases fire damage taken and the blast nova is fire damage, chances are very good that you will lose several people if this first blast nova goes off. Ideally you don’t want any blast novas to go off, but once the lava debuff drops off the margin for error is expanded slightly. This would change if you were pushing an electrocute in phase 2, we didn’t try this, but once you reach a certain gear level it shouldn’t be a problem.
I usually tried to start phase 2 with a bone shield active for the lava and normally it would come back up so I could use it again during phase 2 to help mitigate more damage from the shadow barrage. As a DK you can also use AMS during this phase depending on Nef’s HP. If you go for that AMS in phase 2, you should use it early so you can use it again on the first crackle in phase 3.
In phase 3 the pick up of the adds can be a bit tricky since they may not all reanimate on the first shadow blaze. We got around this by having the Nef tank point nef at the adds so if they didn’t all come up from the shadow blaze the first breath would bring the rest up. Once blood lust goes out the DPS will make it very difficult to keep up with cooldowns cycling for electrocute. I noticed quite regularly that I would have a cooldown ready for two, but my AMS wouldn’t be up for the third and I would need to use IBF. In this video I do a terrible job of using Dancing Rune Weapon, but that is a very good ability to use when the adds are getting close to done and you want to keep the incoming damage lower. It is great to use in conjunction with Bone Shield if you can since pairing avoidance with the charged damage reduction allows the charges to live longer. Alternatively you can use them separately to try and extend the window of reduced damage for your healer.
Now we come to the kiting in general. After the first few the shadow blaze will start to come at a constant rate. This will make you feel like you need to constantly be moving, but that is wrong. You will want to wait until 2 seconds before shadow blaze comes out, then move a healthy distance and stop and repeat. If you are doing it correctly you will get consistent resets on the adds and you will not have to move into flames. At worst, if you see flames ahead, give yourself 30 yards so you can move for a shadow blaze and stand in between the the two sections of fire. In most cases the flames ahead will burn out before the next shadow blaze comes through which will give you a clear path.
The Nef tank is going to try and keep Nef’s side pointed at the kite area. This is done for two reasons, one you don’t want shadow flame breath hitting the adds and two you don’t want the kilter or kilter healer getting hit by tail lash. Often the raid will need to run directly through nef to his other side at least once during the final phase to reposition safely away from the flames.
As the kilter it is really important to not miss time your cooldown usage for electrocutes. It is certainly doable if you miss time them, but it makes life much more difficult on your healer and dramatically increases your chances of wiping. I have a ton of footage of me missing quite a few electrocute cooldowns and I only survive because I was already high on life and luckily had a healer who was capable of reacting quickly.
Looking back at positioning, Phase 3 is critical to have nef positioned correctly so you can help the kilter out and allow the dps to do their maximum. It is also important for the kilter to understand how much room they actually have, which took me quite a few goes to really get the feel for it. Even though we defeated the encounter before, I was still working on really feeling it out and knowing where I needed to be to make my life easier.
The synergy between mechanics and the room design makes this encounter one of a kind and a real joy to figure out and execute. Even with a general increase to the margin for error, this encounter still requires an understanding of how the mechanics work together and how those same mechanics work to close off space in the various phases. ?